01
Add the repository to HACS
In HACS, open the menu → Custom repositories. Paste the repository URL, choose Integration and add it. Find Aurelvi and download it.
https://github.com/sonics007/aurelvi-ha AurelviHOME AT A TOUCHGet started
Install the integration. Connect the app. Build your first room. Follow the steps below — at your own pace.
An Android NSPanel Pro on the same local network as Home Assistant.
A working HA installation, MQTT integration and optionally HACS.
WebSocket access to your MQTT broker; network ADB for first installation.
In HACS, open the menu → Custom repositories. Paste the repository URL, choose Integration and add it. Find Aurelvi and download it.
https://github.com/sonics007/aurelvi-haRestart HA to load the installed integration. For an update, keep your existing Aurelvi integration entry.
Go to Settings → Devices & services → Add integration and search for Aurelvi. MQTT must already be configured. Open Aurelvi Studio in the sidebar.
Add the integrationDownload aurelvi.zip, extract it and copy its aurelvi folder to /config/custom_components/aurelvi. Keep the folder name without a version number, then restart HA.
Download integration ZIPEnable ADB/network debugging using the supported procedure for your panel firmware. Find the panel IP in your router or Android network settings. The exact menu varies by firmware.
In Studio, click Setup / Update. Enter the local panel IP and port 5555, then Connect / test ADB. On the panel, accept the RSA authorization prompt.
Click Install latest Aurelvi APK. HA downloads and verifies the official APK, installs it and opens the app. Set Aurelvi as Home if you want it to be the Android launcher.
Use your own panel IP and the path to the downloaded APK. Accept the authorization prompt on the panel.
adb connect 192.168.1.50:5555
adb install -r Aurelvi.apk
adb shell am start -n sk.openpanel.nspanel/.MainActivityOpen the app settings. Set the MQTT WebSocket address and broker credentials, and select Aurelvi integration mode. Use the WebSocket port configured on your broker, not its regular MQTT TCP port.
ws://YOUR_BROKER_IP:YOUR_WEBSOCKET_PORTReturn to Aurelvi Studio. The panel should appear after it connects to the same MQTT broker. Add the panel to allow its control actions. If you add it manually, use the exact device ID shown by the app.
Choose an HA area using Build room. Studio creates an editable draft from supported entities. Check the assigned entities, button actions and fan capabilities before saving.
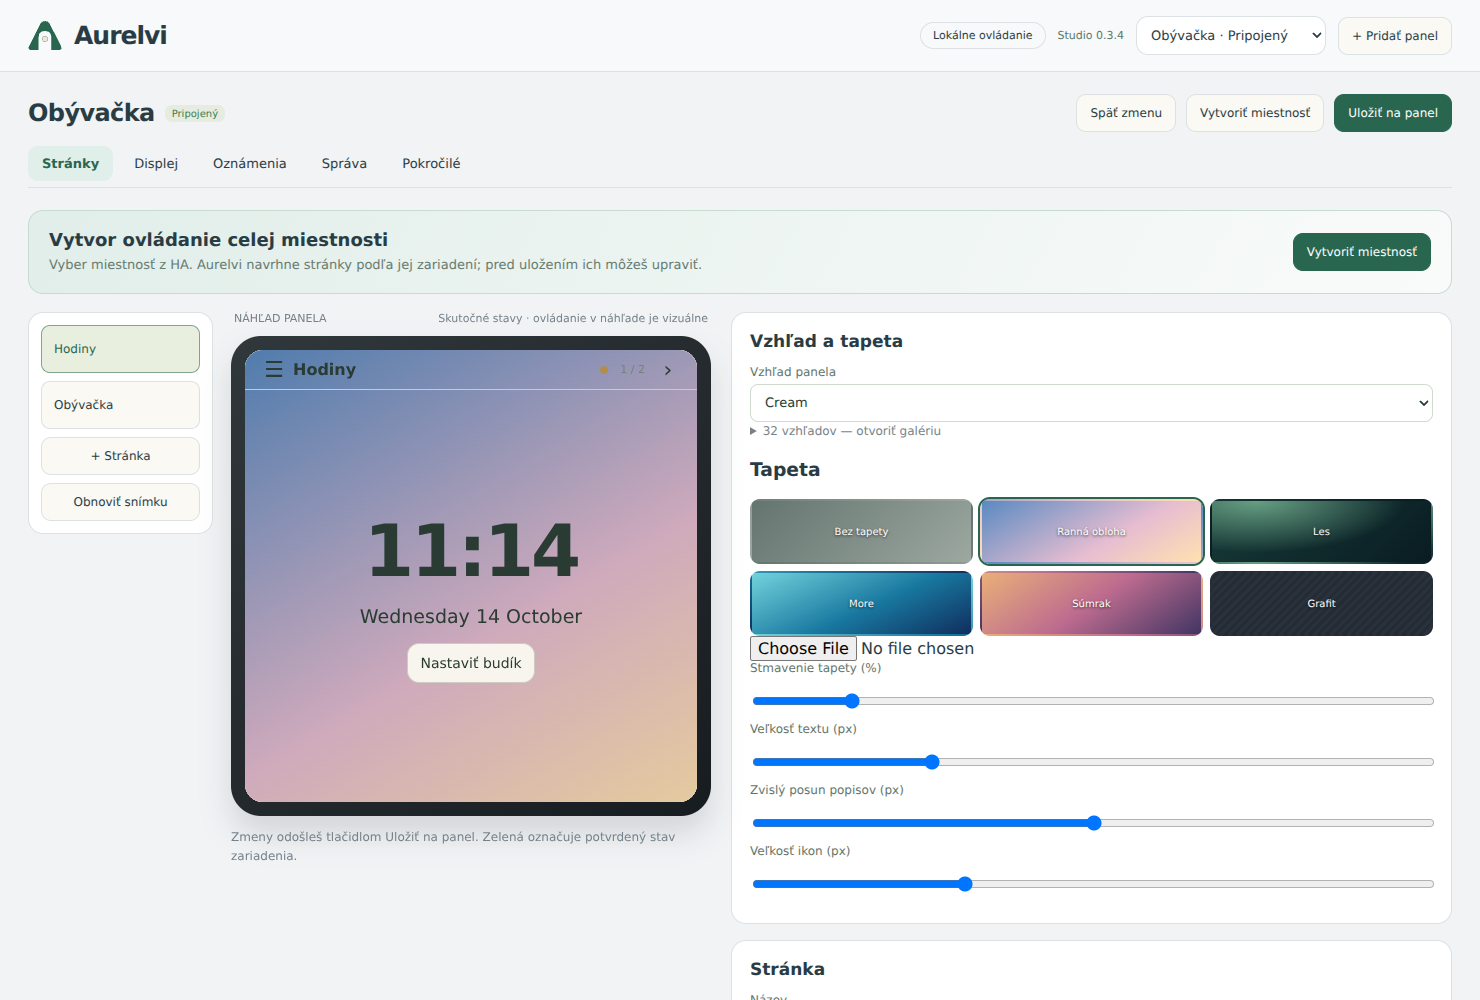
In Appearance and wallpaper, choose a skin, one of the backgrounds or your own image. Adjust clock, screensaver and night settings in Display.
Browse all 80 skinsClick Save to panel. Try one control and confirm its real entity state in HA. Preview buttons on this website are illustrative; only the paired panel controls your home.
Update the HA integration through HACS or the release ZIP, then restart HA. Update the APK through Studio ADB or the app updater. The integration and APK have separate version numbers.
Check that network debugging is enabled, HA can reach the panel IP/port, and the authorization prompt has been accepted. Firmware or network rules can block ADB.
Check MQTT WebSocket address, credentials, Aurelvi integration mode and exact device ID. HA and the panel must connect to the same broker.
Update to integration 0.3.6 or later and restart HA. The fix safely omits missing light readings while preserving valid states. Keep the existing integration entry.